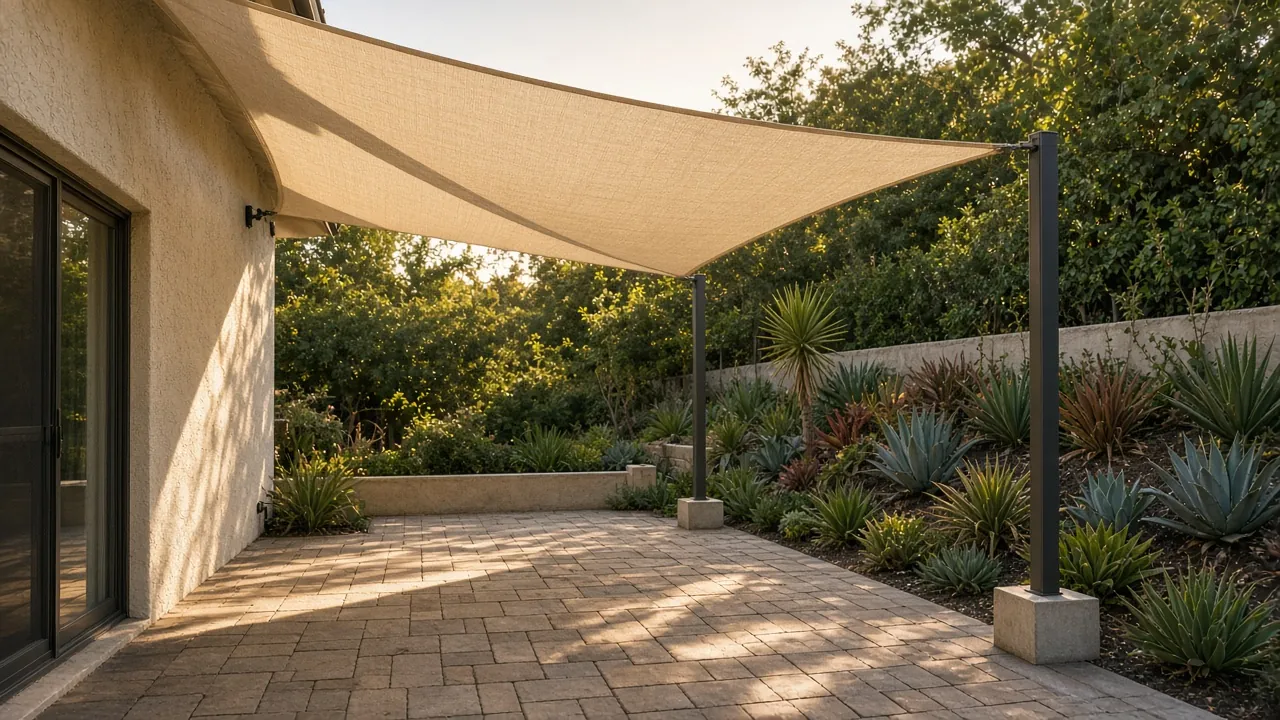
How to install a shade sail that survives Santa Ana winds
A shade sail is one of the fastest ways to make a sunny Los Angeles patio usable from May through October — and one of the easiest backyard projects to under-build. Once a 12-by-16-foot fabric triangle catches a warm afternoon gust or a fall Santa Ana, it stops acting like a curtain and starts acting like a boat sail pulling hundreds of pounds sideways on whatever you bolted it to.
I work construction in the Los Angeles area. When shade sails fail, it is almost never the fabric that gives up first. It is a screw pulled out of hollow stucco, a thin 4x4 wood post bending like a fishing pole, or a sail hung completely flat so the first rain puddles in the middle and rips the D-rings out.
Product links on this page are affiliate links. If you buy through one, I may earn a commission at no extra cost to you. Read the affiliate disclosure.
Before you dig or tension a sail
- Call 811 / DigAlert at least two working days before digging any post hole so gas, electric, water, sewer, and telecom lines are marked.
- Anchor only to real structure or properly set posts — never stucco skin, thin fascia, or ordinary fence posts.
- Unhook the sail before major Santa Ana windstorms, and keep heaters, fire pits, and grills well clear of the fabric.
This is the short list for this project. Read the full safety basics page for carbon monoxide, No-Burn days, GFCI and tester rules, and DigAlert 811.
Quick answer
Anchor only to real structure — wall framing studs, solid structural beams, or heavy steel posts set deep in concrete — never stucco lath, thin fascia boards, or wood fence posts. Build in a height twist (hypar tilt) so rain drains off instead of pooling, use stainless turnbuckles to tension the corners, and unhook the sail before major Santa Ana windstorms.
Posts, wall anchors, and why fascia fails
On the house side, every D-ring pull wants to rip horizontally out of the wall. Do not lag an eye plate into stucco skin or thin decorative roof fascia. Locate the framing stud or solid top plate behind the stucco using a Franklin Sensors ProSensor 710 stud finder and measurements from window/door openings, or bolt through a solid patio ledger beam. If a house corner has no solid framing where you need it, set a standalone post just clear of the eaves instead.
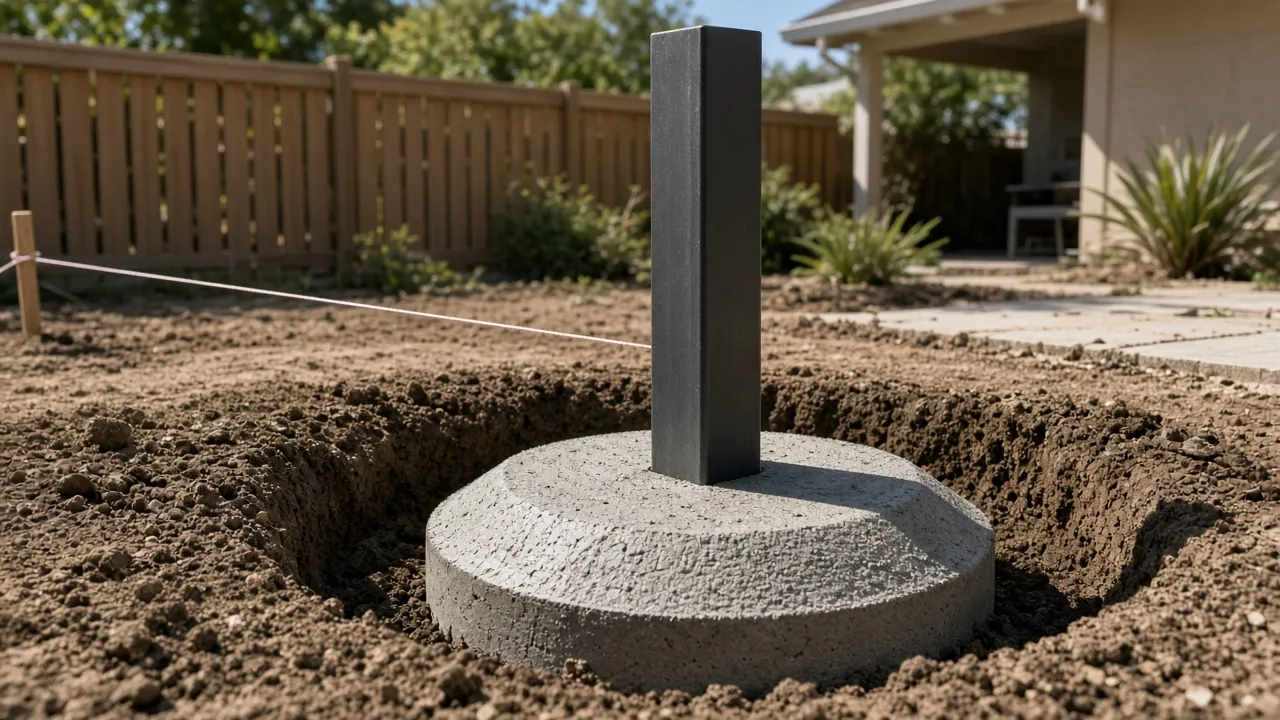
On the yard side, skip ordinary fence posts and thin aluminum poles. Use heavy structural posts sized for the sail area and wind — often galvanized steel pipe or a heavy timber post — not a fence-grade 4x4. Manufacturer and installer guides commonly set posts leaning slightly away from the sail (often about 5 to 10 degrees) so tension pulls them toward plumb rather than inward. Dig footings into firm, undisturbed soil; a widely cited rule of thumb is to bury about one-third of the total post length (so a post that stands 10 feet above grade would have several feet in the ground). Soil type, span, and Santa Ana wind can require deeper or wider concrete footings than that rule of thumb, and large sails, hillside lots, or second-story attachments should be designed by a licensed engineer and may need a building permit. Call 811 first so you do not hit gas, electric, or irrigation lines.
Tension, slope, and Santa Ana wind strategy
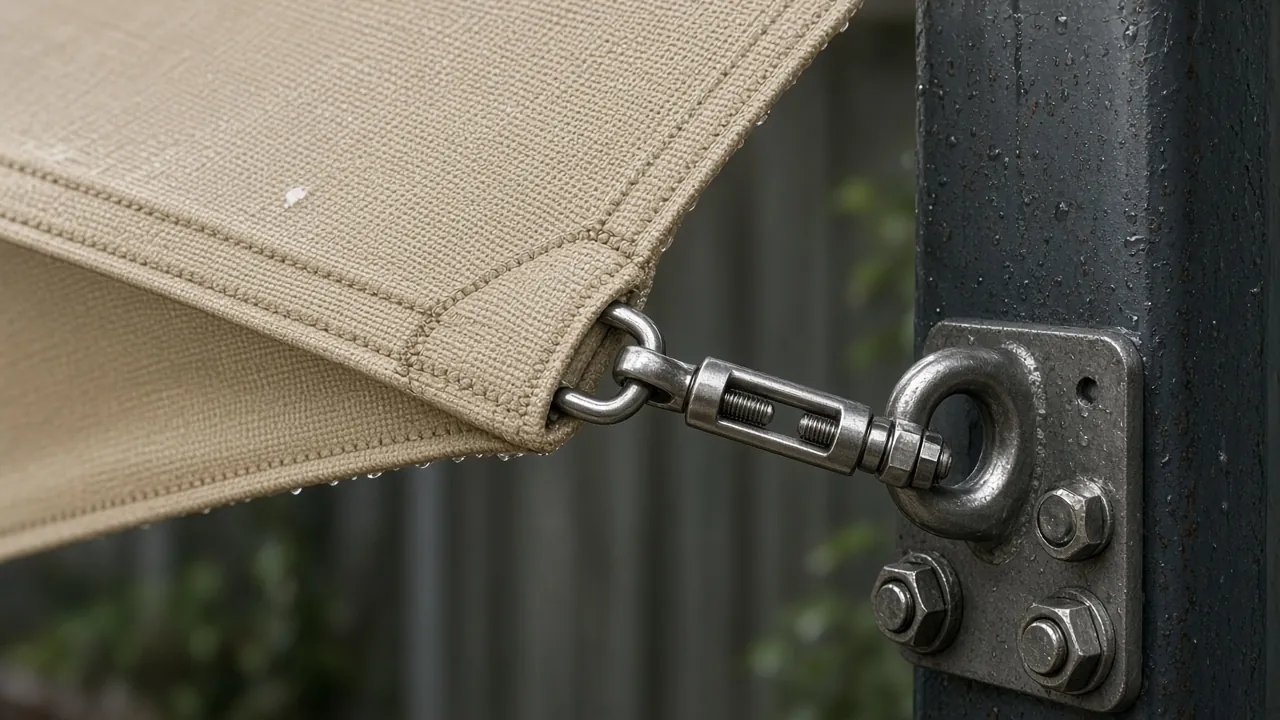
- Leave hardware room. Do not space your anchor posts at the exact cloth dimension. Leave extra room past each corner ring — manufacturer guides often call for roughly a foot or more, or about 10 percent of the span — for the turnbuckle, snap hook, or stainless steel wire extension so you can actually pull the sail drum-tight.
- Build in a twist for rain. Never hang a four-corner sail dead level. Set corners at different heights so the fabric is not a flat plane (a common approach is a noticeable height difference between opposite corners) so winter rain slides off instead of forming a heavy belly.
- Keep clear of grills and heaters. Shade sail HDPE fabric melts and burns. Keep patio heaters, fire pits, and grills well outside the manufacturer’s overhead and side clearances.
- Plan for quick takedown. Even well-built sails should come down ahead of severe Santa Ana wind advisories. Snap hooks or shackles let you drop a sail in ten minutes once the turnbuckles are backed off.
Permits, setbacks, and HOA rules
Many cities and HOAs treat permanent posts or overhead shade structures differently from portable umbrellas. Before you dig footings or bolt hardware to a shared townhome wall, check your HOA architectural guidelines and local city building department rules on post height, property-line setbacks, and square-footage limits for unpermitted shade structures.
Step-by-step installation
1 Call 811 and lay out the geometry
Request 811 / DigAlert utility markings at least two working days before digging any post hole. Stake out your sail shape on the ground, verify a high-to-low corner slope for water runoff, and confirm you have enough hardware clearance at every corner to tension the sail.
2 Set yard posts and let concrete cure
Dig footings clear of utilities into firm soil, sized for the post height, sail size, and wind (the one-third-buried rule of thumb is a starting point, not an engineered design). Brace the posts leaned slightly outward away from the pull, pour concrete around the post, and slope the top collar away from the steel so water does not pool at the base. Wait about a week before tensioning a sail against the posts, or follow the concrete product’s full cure time — whichever the product requires. Some installation guides cite 48 hours as a minimum, but a longer cure is the safer plan.
3 Mount house anchors into structure
Pre-drill into solid framing studs, beam headers, or grouted masonry block — never hollow stucco. Seal exterior penetrations with outdoor polyurethane or exterior-grade silicone caulk so winter rain does not wick behind the stucco.
4 Tension evenly from opposite corners
Open turnbuckles nearly all the way, hook all corners with shackles or carabiners, and tighten opposite corners evenly a few turns at a time until wrinkles disappear and the center does not flap in a light breeze.
5 Re-check tension after the first warm week
New woven fabric relaxes slightly in warm sun. Give each turnbuckle another turn or two after a week, and unhook the sail whenever NWS posts high-wind or red-flag gusts.
Common questions
- Should I buy waterproof or breathable HDPE shade fabric for Los Angeles?
- For most LA yards, breathable HDPE is better. Waterproof vinyl sails trap rising heat underneath and hold enormous water weight if a corner sags in a winter storm. Breathable fabric drops patio temperatures noticeably and drains rain through.
- Can I attach one corner of a shade sail to a mature tree?
- Avoid screwing eye bolts into a live tree or wrapping tight wire directly around bark, which can girdle and kill the branch. Use dedicated structural posts or proper arborist-approved straps only if a certified arborist clears the limb.
When to call a pro
Hire a licensed structural or general contractor if you are spanning a large commercial-size sail, mounting onto second-story stucco walls, pouring footings on a hillside slope, or building a permanent pergola where city permits apply.
These guides are general information. Follow the manufacturer’s instructions and local codes, and hire a licensed pro when in doubt. Read the full disclaimer.
As an Amazon Associate I earn from qualifying purchases. Affiliate disclosure.
Next step
How to build a simple paver patio that stays flat
How to excavate, compact a base, and lay a simple paver patio that stays flat on Southern California clay.
6 minute read
How to hang outdoor string lights so they don't sag
Hang outdoor string lights on a stainless steel guide wire so the cord never carries the span.
5 minute read