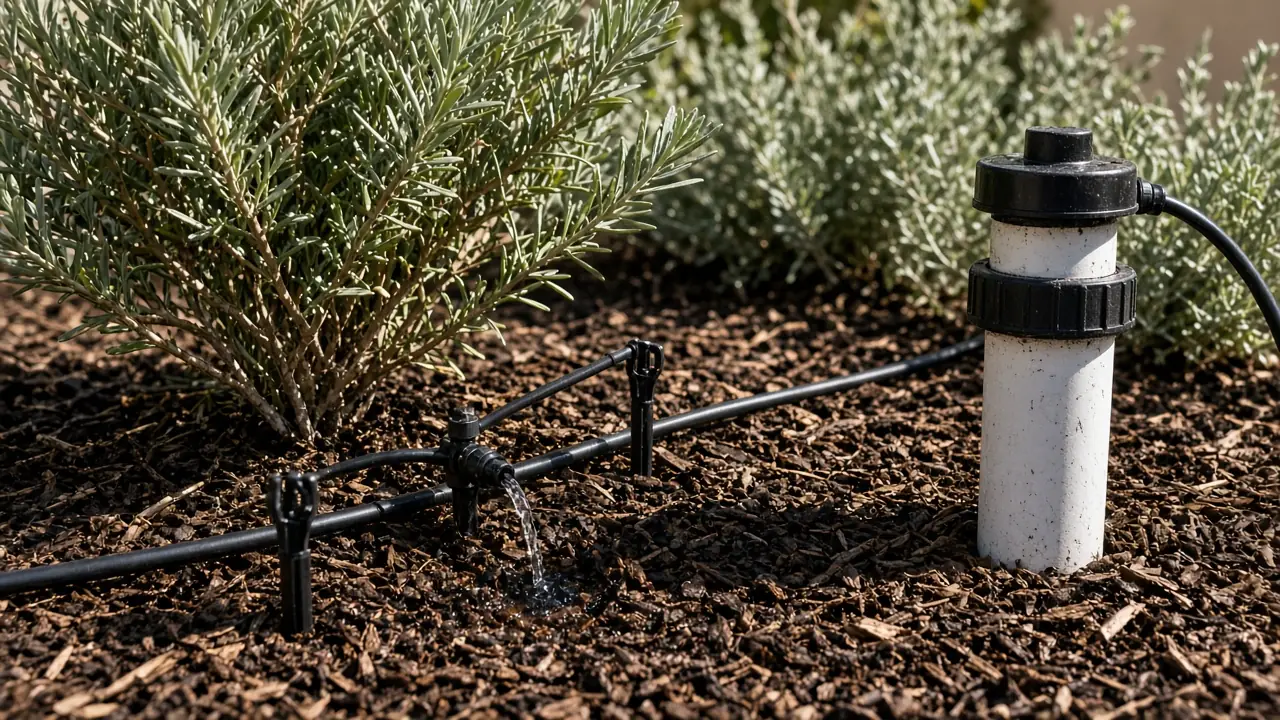
How to convert a sprinkler zone to drip irrigation
Swapping pop-up lawn sprinklers for drip irrigation is the cleanest water upgrade in a Southern California yard. Overhead sprays throw mist into afternoon wind, wash half the water down the driveway, and wet stucco walls. Drip puts water slowly right at the root zone — which is also why LADWP’s landscape rebate requires converting overhead sprays to drip or efficient micro-irrigation.
I work construction around Los Angeles, and the number-one mistake homeowners make on DIY drip conversions is hooking 1/2-inch drip tubing straight onto a 60-PSI sprinkler pipe without a pressure regulator and filter. Ten minutes after the timer turns on, emitters blow out like popcorn and shoot geysers across the mulch.
Product links on this page are affiliate links. If you buy through one, I may earn a commission at no extra cost to you. Read the affiliate disclosure.
Before you dig or open a valve
- Call 811 / DigAlert at least two working days before you dig up risers, cut into buried pipe, or trench new lines.
- Keep existing anti-siphon / backflow protection intact and at the height the valve manufacturer and local plumbing code require.
- Hand-dig carefully near marked utility lines and existing irrigation.
This is the short list for this project. Read the full safety basics page for carbon monoxide, No-Burn days, GFCI and tester rules, and DigAlert 811.
Quick answer
Never mix pop-up sprinklers and drip emitters on the same active zone — cap the extra pop-up heads, convert one or two risers with a pressure regulator and mesh filter (the Rain Bird RCKIT conversion kit uses a 30 PSI regulator and a 200-mesh filter; Rain Bird’s drip guidance is a minimum of about 15 PSI and a typical maximum of about 25–30 PSI), and run 1/2-inch poly distribution tubing with pressure-compensating emitters or inline drip line. Keep existing anti-siphon backflow valves intact.
Why pressure regulation and hydrozoning matter
Pop-up lawn sprays often operate in a roughly 30–50 PSI range and dump gallons per minute, while household static pressure can be higher. Drip emitters need much lower pressure — Rain Bird’s drip conversion guidance is a minimum of about 15 PSI and a typical maximum of about 25–30 PSI — and they measure flow in gallons per hour. If a zone still has even one active lawn sprinkler head, the timer will either flood your shrubs waiting for the lawn or starve the lawn while running short drip cycles. Convert the entire valve zone at once: cap unused heads and regulate pressure for the drip lines.
Check your existing sprinkler valve first. In Southern California, many residential zones use an above-ground anti-siphon valve. Rain Bird’s anti-siphon valve instructions call for mounting the valve at least 6 inches above the highest sprinkler or emitter on that line (local plumbing code may require more). Keep that backflow protection intact and working.
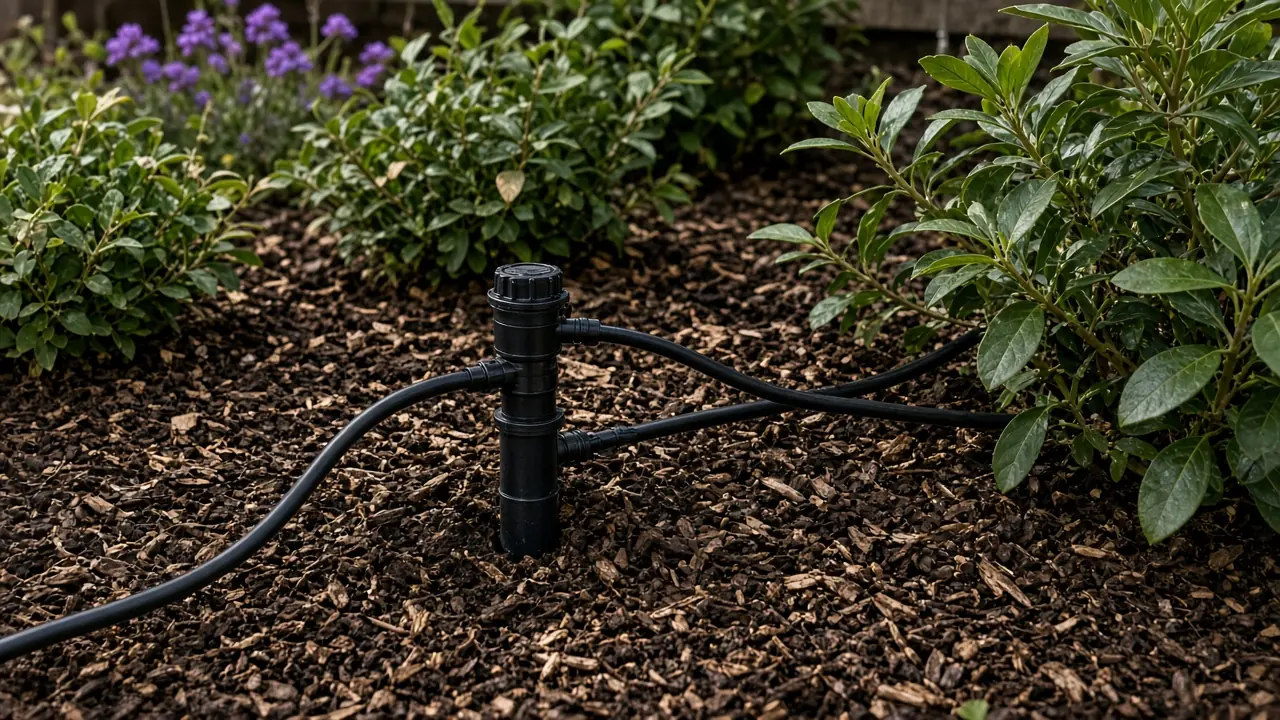
Step-by-step sprinkler-to-drip conversion
1 Flag every head on the zone first
Turn the valve on briefly from the controller or valve box and stick a bright flag next to every pop-up head that pops up on that single zone. Check for hidden heads buried under overgrown shrubs, and note any leaking anti-siphon valves.
2 Pick one central riser (or valve conversion) and cap the rest
Shut the water/controller off. Unscrew the wiper seals and pop-up stems from the heads you are retiring and thread on compatible spray-head caps with Teflon tape or O-rings as specified. Leave one or two central risers to feed your new drip lines. If you dig up old PVC risers to cap them underground, call 811 first.
3 Install the filter and 30-PSI pressure regulator
Thread the conversion assembly (on the Rain Bird RCKIT, a 200-mesh filter, 30 PSI regulator, and 1/2-inch poly tee; inlet pressure for that kit is listed at 15 to 70 PSI) onto the active riser. Make sure flow arrows point outward toward the tubing, not back into the ground pipe.
4 Run 1/2-inch drip tubing and flush before capping ends
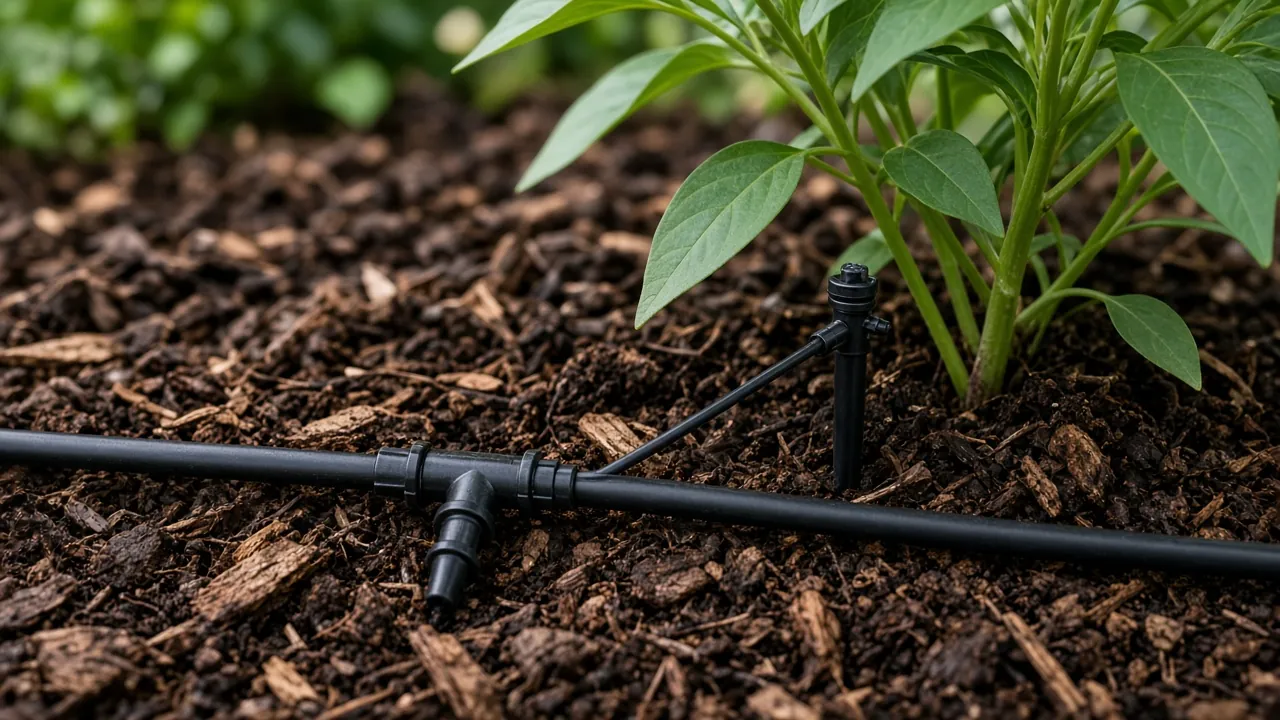
Snake 1/2-inch pressure-compensating drip tubing in loops or grids through the planting bed, staked down with landscape staples. Leave the far ends open, run the valve for 30 seconds to flush out plastic shavings and dirt, then fold and clamp the figure-8 end caps.
5 Cover with mulch and reprogram the timer
Test for leaks while everything is visible, then cover tubing with 2 to 3 inches of coarse bark mulch (keeps UV sun off the plastic and holds moisture in the soil). Reprogram your timer: drip usually runs longer per cycle than spray, but far fewer days per week — start conservatively and adjust for your soil, plant type, and emitter flow rather than copying a single run time.
Common questions
- Why do my new drip lines hiss and blow emitters off?
- Almost always missing pressure regulation. Household static pressure can be far higher than drip tubing is built for. Rain Bird’s RCKIT conversion kit uses a 30 PSI regulator (listed inlet range 15 to 70 PSI) because typical drip operating pressure is about 15 PSI minimum and about 25–30 PSI maximum. Install the regulator and filter before the tubing.
- Can I run a drip zone on my existing sprinkler timer?
- Often yes, as long as the zone valve still sees enough flow to operate correctly. The Rain Bird RCKIT is listed for about 0.5 to 4 gallons per minute, and Rain Bird recommends a control-zone / low-flow valve kit when retrofit flow is under 3 gallons per minute. A very small drip zone on an older spray valve can fail to open or close cleanly — that is when a dedicated low-flow drip valve belongs at the manifold.
- Do I put drip tubing right against the tree trunk?
- No. Water at the outer canopy drip line where feeder roots actually grow, and keep emitters and wet mulch a few inches back from trunks and house stucco.
When to call a pro
Call a licensed landscape/irrigation contractor or plumber if your backflow/anti-siphon valves are leaking, sitting below grade without backflow protection, or tied into a main copper line that needs soldering, or if you want a new manifold built with low-flow drip valves.
These guides are general information. Follow the manufacturer’s instructions and local codes, and hire a licensed pro when in doubt. Read the full disclaimer.
As an Amazon Associate I earn from qualifying purchases. Affiliate disclosure.
Next step
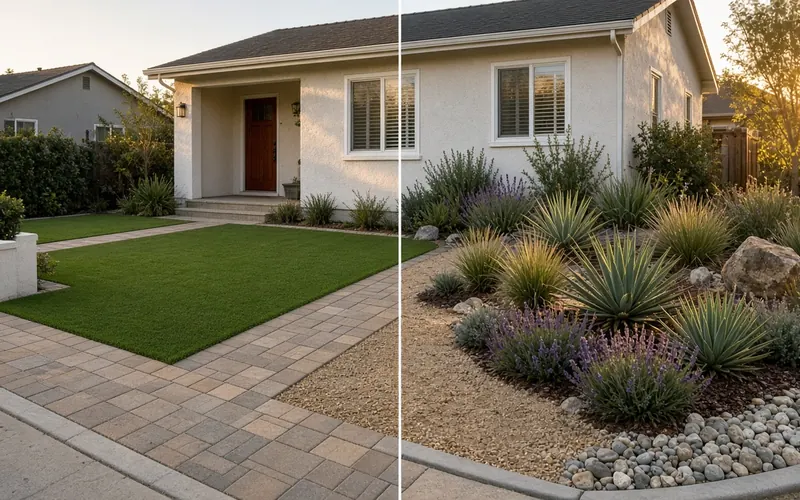
Artificial turf vs. drought-friendly landscaping in Los Angeles
How artificial turf compares to drought-friendly landscaping in Los Angeles, including verified LADWP rebate rules.
6 minute read
How to build a simple paver patio that stays flat
How to excavate, compact a base, and lay a simple paver patio that stays flat on Southern California clay.
6 minute read